Pressure Tank Operating Instructions
Contents
Models AT-10HT, AT-20H, AT-40A
General:
– Applicable to the AT series of pressure tanks
– Do not exceed the maximum allowable pressure.
– Do not fill the container to the top (maximum 80% of container height)
– Do not make modifications to the tank (such as e.g. drilling, welding, etc.). This will weaken the overall structure and can lead to explosion.
– To ensure safety, consult the manual of the pressure tank. Persons who operate the pressure tank shall be well trained.
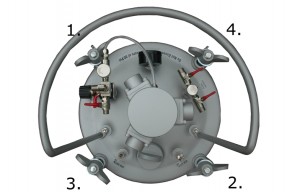
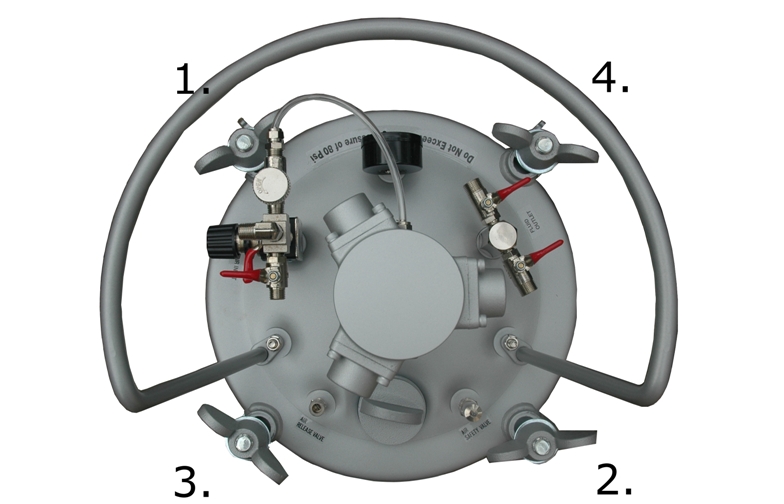
A) Opening & Closing of Pressure Tank
Do not open the lid if the container is under pressure (the pressure gauge must be in zero position). If pressurized, turn and open the pressure release valve first. Make also sure that the material temperature is below 40° C.

STEP2:
Pour the material being sprayed directly into the pressure tank or into the stainless steel liner.
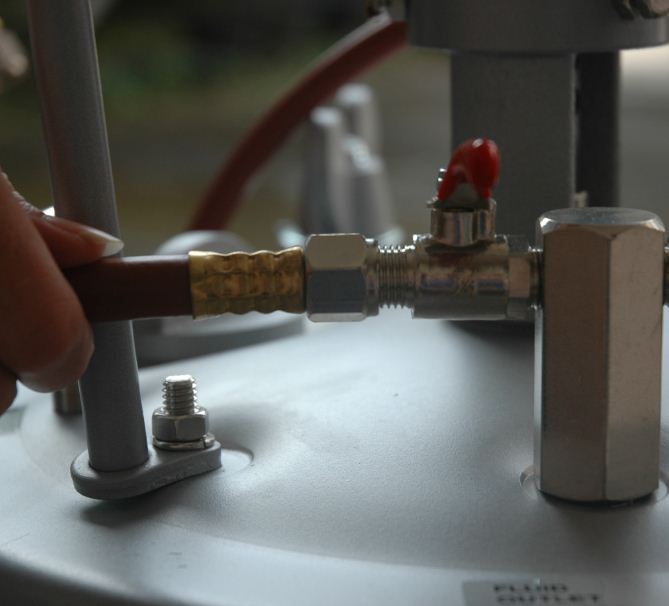
B) Installation & Operation
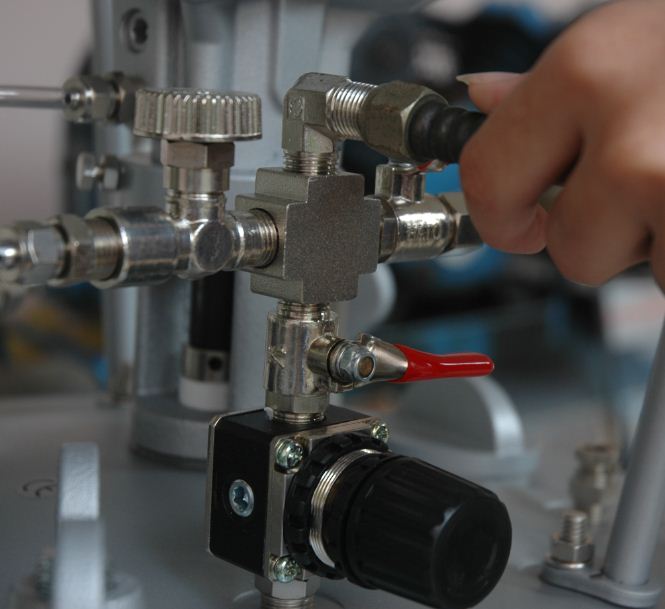
First, make sure that the lid is closed properly, and that all ball valves (air and fluid) and regulators of the pressure tank are closed.


General:
– Atomizing air for the spray gun can be adjusted by means of a gun-mounted air regulator, or by means of an additional air regulator kit mounted on the tank (Option).
– Operate your spray gun according to the pressure recommendations of the spray gun manufacturers.